
After over ten years as a Canon photographer, I’ve switched to Fujifilm. Let me explain.
Read MorePhotography Tips
052. Photography Tips: Chasing the Light
I'm a hunter. A hunter of good light.
Over the years I've played with many artificial lighting techniques, including strobes, umbrellas/reflectors, and even timed flashes.
They served me well in different scenarios, especially weddings, where the lighting is often unpredictable, and the party stretches late into the night (darkness).
However, nothing has ever quite captured my fancy like natural light. The power of the sun.
No batteries, no extra equipment. Just me, the camera, my clients, and the incredibly flattering natural light. For most photographers, the thrill of capturing a beautiful image is hard to top. And for me, doing that with pure natural light was the ultimate joy.
Dori & Philip's engagement sessions, 2015.
While artificial light has its uses, the beauty of natural light is hard to beat.
There's something exhilarating about chasing and finding the perfect light.
For most photo shoots, I would tell my clients to be ready 3 hours before sunset. I'd pick them up, drive out to whichever location I had in mind, and we'd just have fun following the sun! We'd walk/hike/drive around, finding awesome backdrops and great angles to capture the sunlight. It was a very relaxed way of shooting, and I wasn't worried about lugging equipment around. The heaviest thing I brought were my lenses! My clients enjoyed the "freedom" of this style and in turn, they were more relaxed and natural in front of the camera.
Bridal Portrait Session, 2014
The "golden hour" is the best time, as the sun is low on the horizon, casting it's yellowish/orange rays. The golden hour takes place approximately 1-2 hours before sunset.
Noon is the worst time for outdoor photographs, because the sun is directly above us, creating harsh, unwanted shadows on faces, and the color of the light is much more "white" (not ideal for skin tones).
However, relying on nature has its downfalls. Weather, for one thing, is unpredictable.
I would often provide a backup date to my photo shoots, in case it was suddenly too cloudy or rainy. However, it was always worth it!
Being flexible meant we were able to capitalize on the best weather.
So, you're out there in the golden hour, your clients are looking great...now what?
Mountain wedding, 2013.
As the photographer, it's your job to know how to utilize the surroundings and angles (based on the sun's location) to capture the best photos. When women are involved, you better be aware of those shadows!
Women are famous for being extra critical of how they look. You'll want to avoid any angles that make them look "larger" as well as unflattering shadows under the eyes.
It takes practice, but in time you'll get a feel for which angles work the best.
Engagement Session Portrait, 2013.
In order to really take advantage of the natural light, I always include a few stylized shots involving direct sun and sunspots! These often end up being our favorite images. Why? Because they tell a visual story, and are special. Set your client directly in front of the sun, so it's barely peaking around them. This creates a lens flare for dramatic effect.
The dreamy lighting allows the viewer to get lost in the FEELING of the image.
Wedding Portraits, 2015.
Alas, one can get so addicted to using natural light, that they almost develop an aversion to using any artificial light! (This totally happened to me for a brief time in my career, but I eventually got over it).
Without my handy flash, I never would have captured this image of the bride & groom leaving the reception, soluting the moon, which ended up being one of their favorites!
To recap, here are a few tips!
- Know your location! Research and/or visually document when the golden hour is at it's prime in whichever location you want to shoot. This is called "scouting" your location. Go there a few times a week before the photoshoot to get an idea of when the light is low on the horizon.
- Don't wait too long! I occassionally made the mistake of pushing a start time until only an hour before sunset. This is a mistake because if there are trees, or mountains, or tall buildings nearby, the sun might dip behind them waaayyyy before the scheduled sunset time! Don't miss out on light due to poor timing.
- Try to avoid photographing your clients in direct sunlight - this usually just leads to lots of squinting, unflattering shadows, and sweat.
- When positioning your clients relative to the sun, always start with the sun behind them, or slightly off to the side. If the sun is in front of them, again you may run into squinting and shadows. Once you get them in place, you can then have them turn a little bit to one side if the lighting is more flattering.
- Use natural "reflectors." Anything reflects light, except for extremely dark objects. You can use sidewalks, walls, even cars to bounce light onto your subjects. They can be really useful when you're trying to photograph someone who is back-lit (when they almost become a silhouette). Take a friend out for a test photo shoot and try illuminating them with natural reflectors. You'll quickly learn to look for these (or avoid them) during your photo shoots!
- Watch the grass! I can't tell you how many times I have done a photo shoot, felt really excited about the results, gone home to my computer and realized all of their skin is tinted GREEN! Yikes! This is because the sun reflects the colors in your environment, and if your clients are sitting or standing near one large color source (like grass), that is a LOT of color being reflected! You can waste hours in post processing fixing the colors, or you can just avoid it in the first place!
Regular photo (left) / Long exposure (right)
014. Photography Tips: Long Exposures for Moving Water
Tips for capturing moving water.
Read More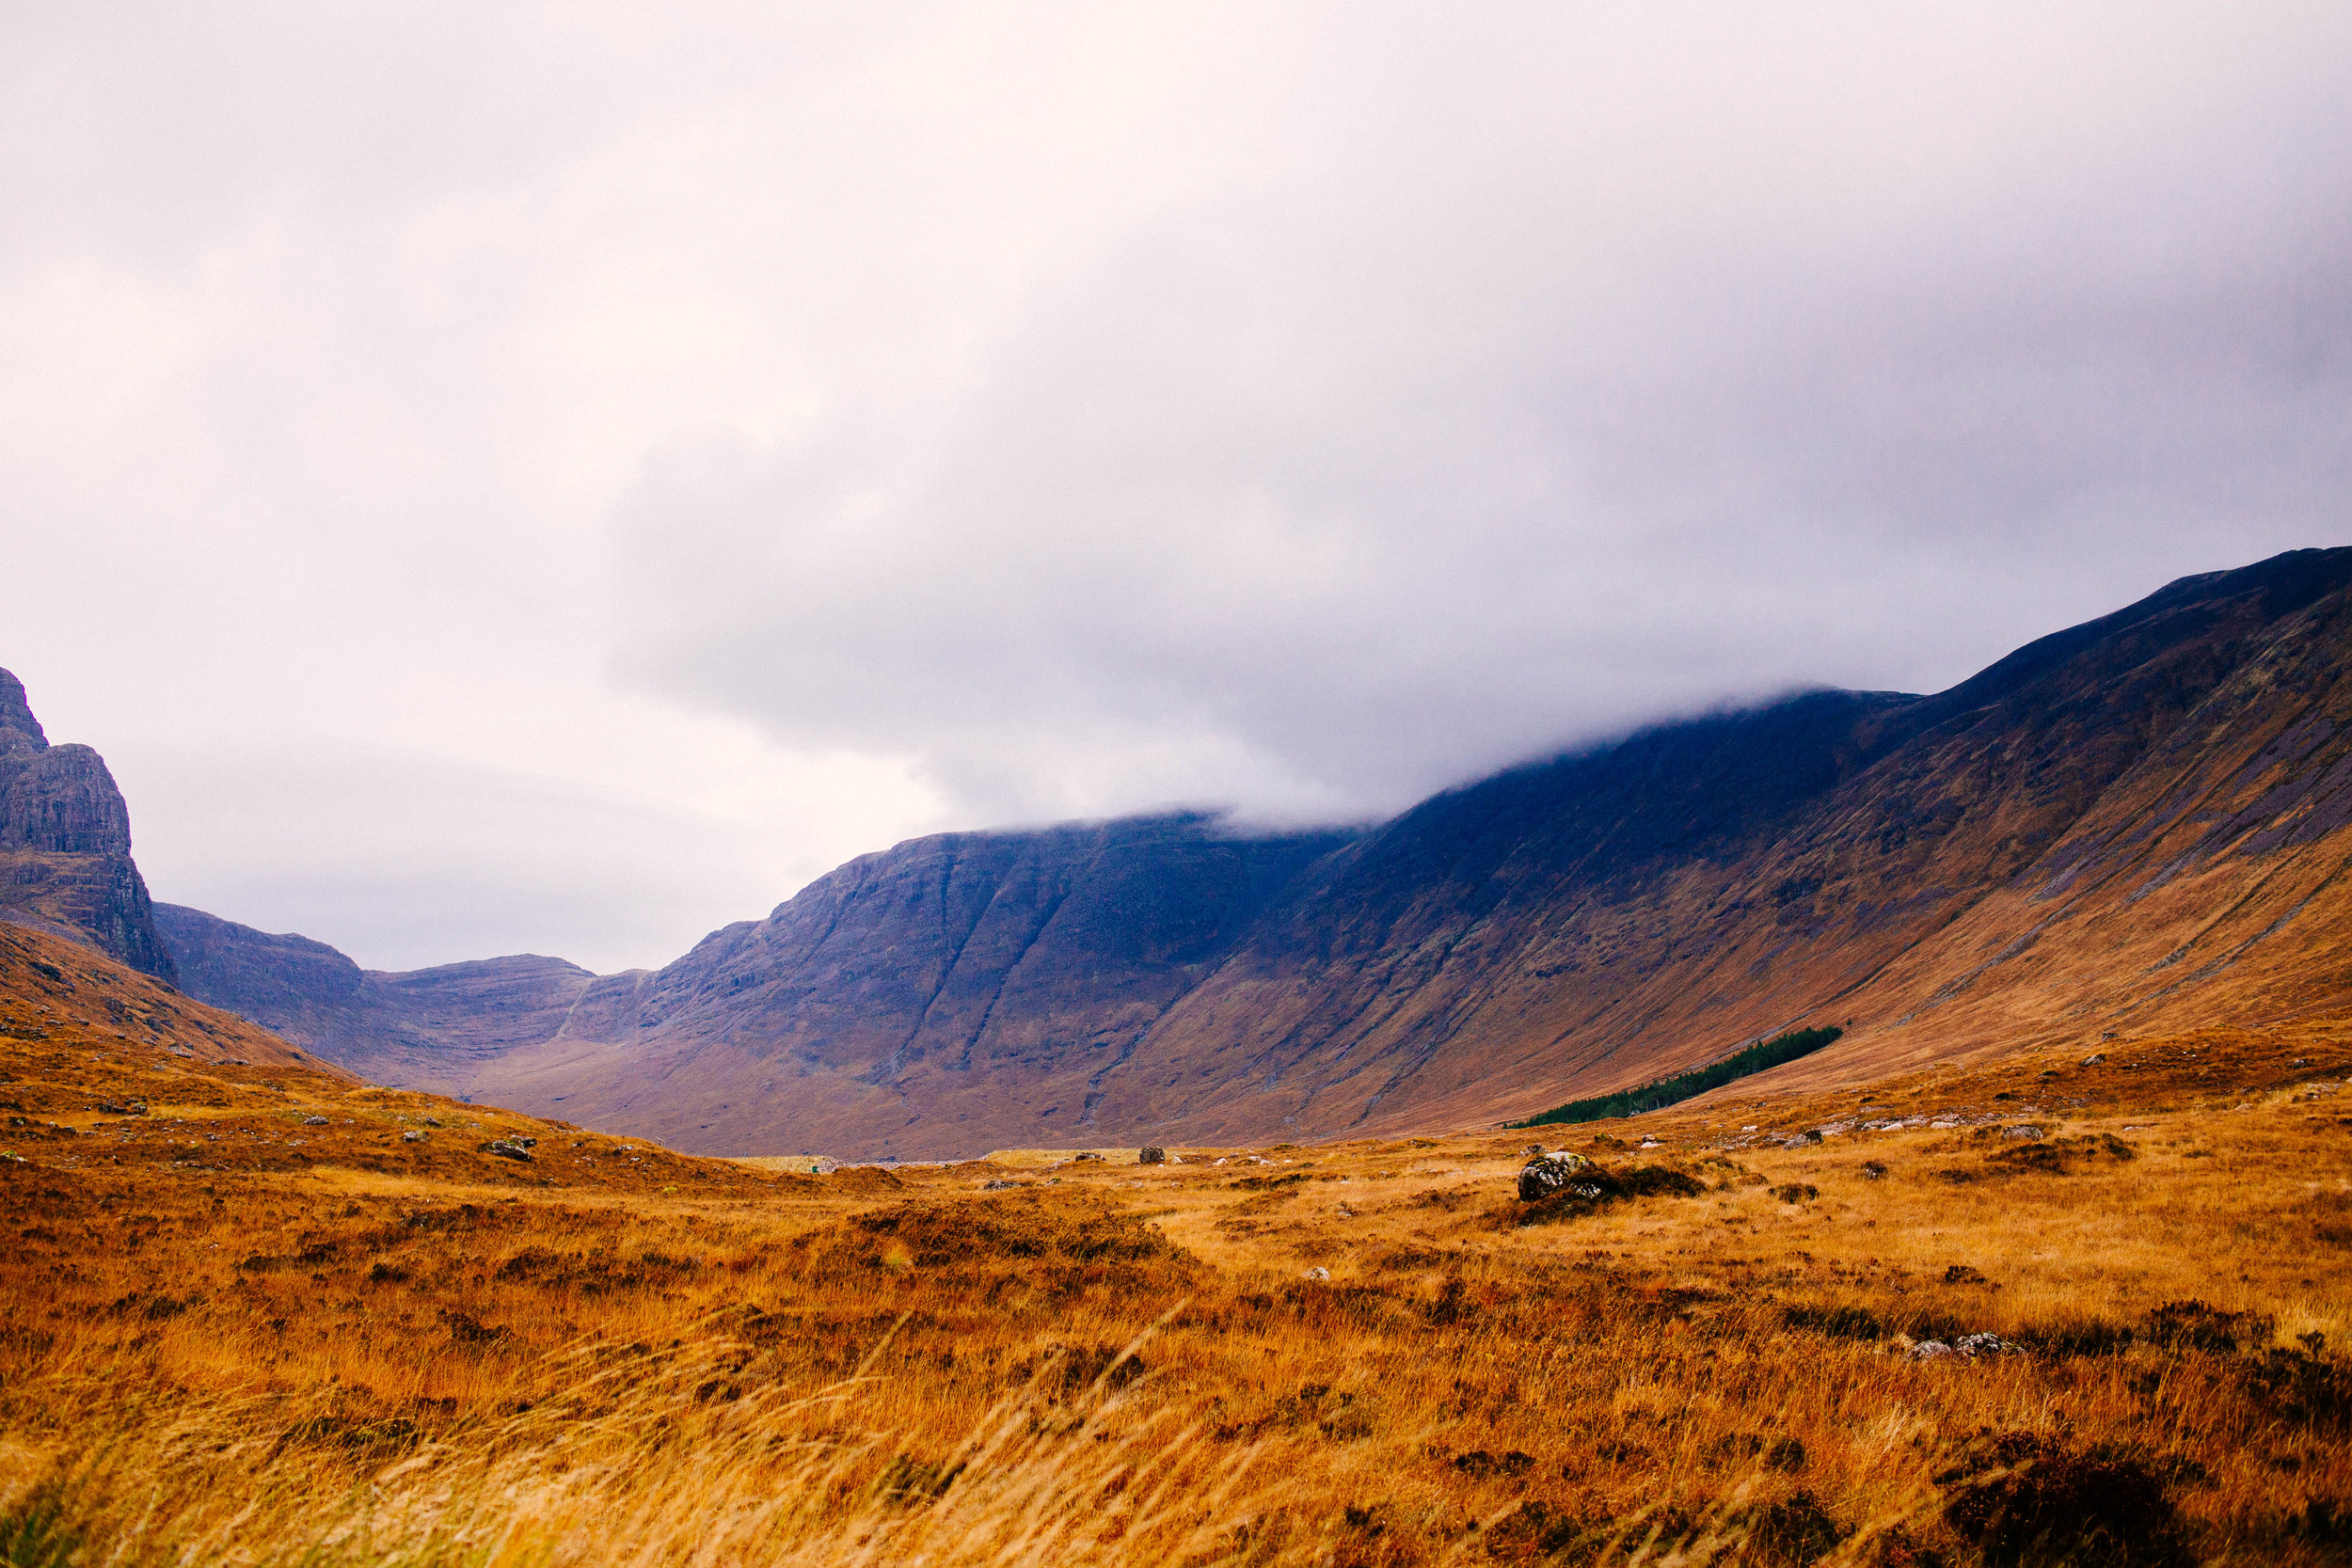
Wide view, showing the vast landscape. Scotland, 2016.
006. Photography Tips: How to Tell a Visual Story
Importance of the visual story.
Read More